Installing Windows Server 2012 R2 Standard on Cajal
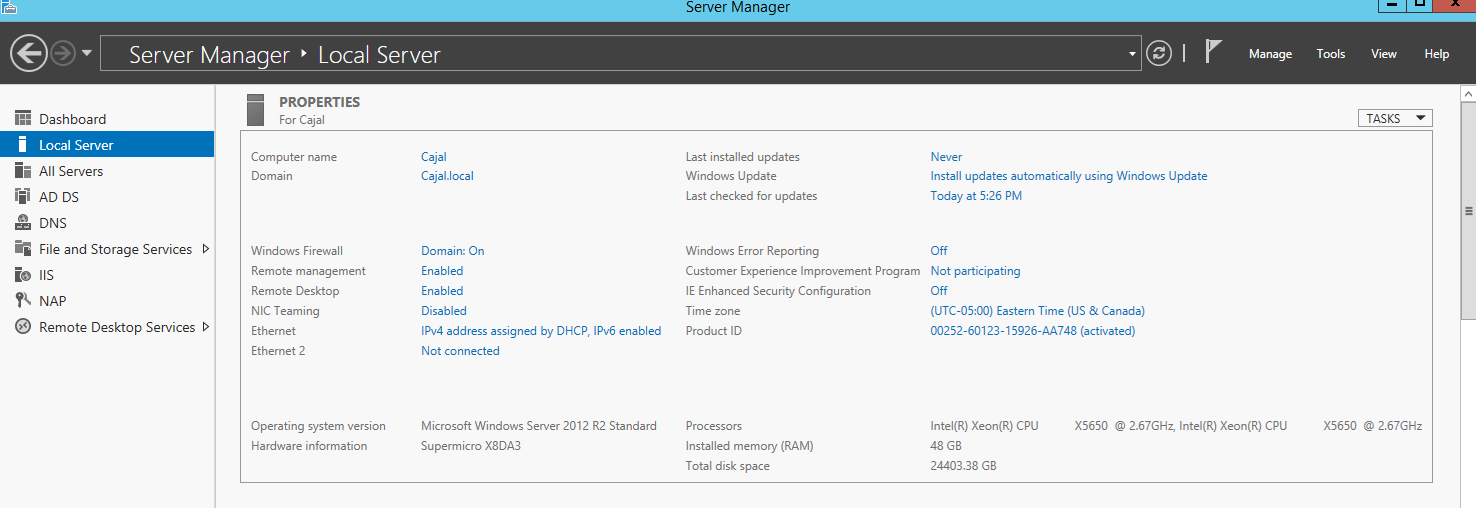
Step 1: Configure Local Server.
- Select Local Server from the Server Manger Display
- Rename the local computer to the name you want to appear in network discovery. You will not be able to change this after domain configuration!
- Change time zone if necessary.
- Turn on Automatic windows updating. Install updates if necessary.
- Deactivate IE Enhanced security for administrators. Otherwise basic web browsing requires 5-50 confirmation clicks every time you want to search or open a new page. This probably only applies to IE, but simply to download Google Chrome from IE with this on took over 100 mouse clicks.
- Activate Windows in the server options menu. This will ask for your windows key. You can get this online from the same site where you can download the server iso
- install the NVIDIA graphics card
Step 2: Domain Promotion
- Follows this Guide
- NOTE: Be sure that AD Tools is installed in the optional features.
- Otherwise you will not be able to add users.
- The old add users from control panel approach does not work on domain configurations
- also be sure the local computer name is set. Windows won’t tell you this in advance, but you can not change it later.
- You will need to create a security certificate
- domain set to CajalDomain.local
- NETBOIS name set to Cajal0 (can’t be same as local name)
Step 3: Install Remote Desktop Software and Add Licenses
- Follow this Guide
- self signed certiicate name: Cajal.CajalDomain.local
- store the certificate: Users\Aministrator\Documents\CAJAL.cer
- In the Add Groups prompt, be sure to Add “Domain Users”. I think it is a good idea to also add “Domain Admins” and “Domain Computers”
This entry was posted in
Web development. Bookmark the
permalink.